
Star nail art has taken the beauty world by storm, offering a dazzling way to adorn your nails with celestial charm. Whether you're a seasoned nail artist or a beginner looking to unleash your creativity, this comprehensive guide will walk you through the steps to create stunning star nail designs that are out of this world.
Understanding Star Nail Art:
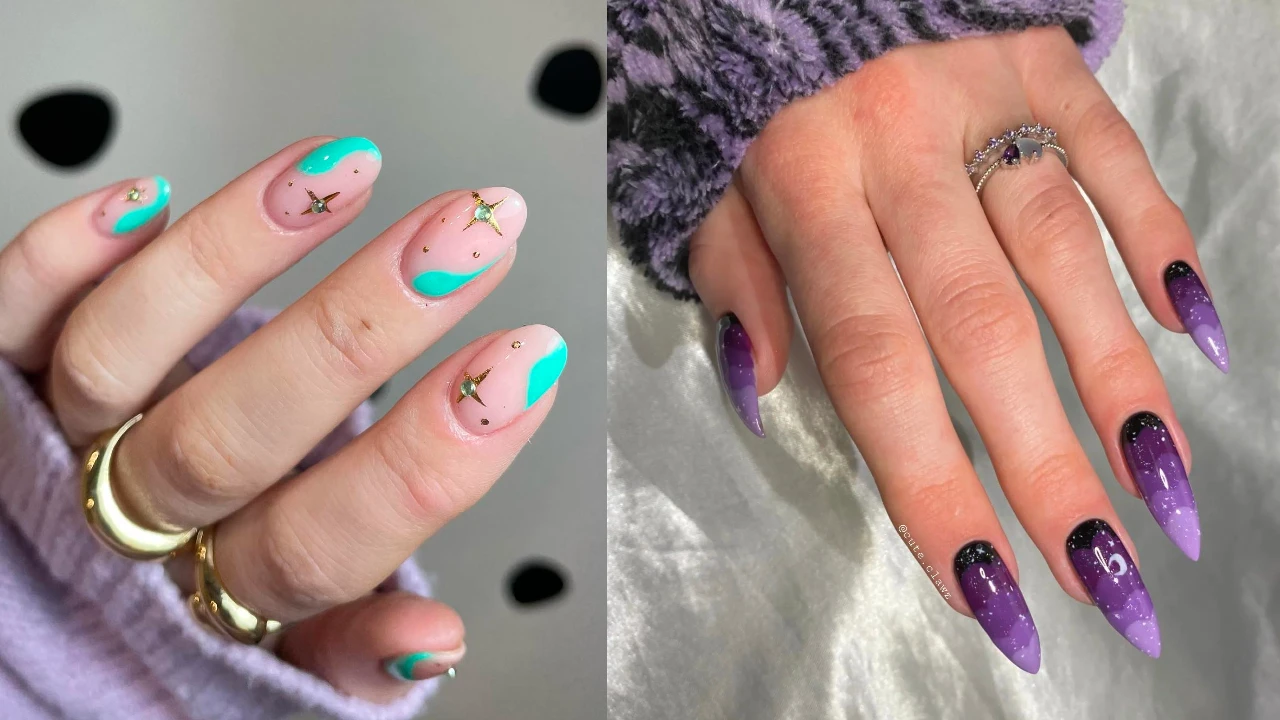
Star nail art isn't just a passing trend – it's a timeless symbol of elegance and individuality. From minimalist single-star designs to intricate celestial motifs, the possibilities are endless. Embrace the versatility of star nail art and let your imagination soar as you explore different shapes, sizes, and arrangements to suit your style.
Essential Tools and Materials:
Before you dive into creating your masterpiece, make sure you have the right tools at your fingertips. Stock up on high-quality nail polish in your desired colours, fine-tipped nail art brushes for precision and optional embellishments like glitter and rhinestones to add extra sparkle to your design. Remember, the key to flawless nail art lies in the details, so invest in tools that will help you achieve professional results.
Step-by-Step Tutorial of Star Nail Art
Preparation:
Begin by preparing your nails – file them into your desired shape, push back your cuticles, and apply a base coat to create a smooth canvas for your design.
Base Color:
Choose a base color that compliments your skin tone and the overall theme of your design. Apply two thin coats of nail polish and allow them to dry completely before moving on to the next step.
Drawing Stars:
Now comes the fun part – drawing the stars! Dip a fine-tipped nail art brush into your chosen nail polish color and carefully create the outline of a star on your nail. Start with a simple five-pointed star and gradually experiment with different sizes and orientations to create a celestial constellation effect.
Adding Details:
Once you've perfected your stars, it's time to add some extra flair to your design. Get creative with glitter, metallic accents, or nail stickers to enhance the celestial theme and make your stars shine bright.
Sealing the Design:
To ensure your nail art lasts as long as possible, seal it with a top coat. Apply a generous layer of clear top coat over your entire nail to protect the design from chipping and smudging.
Tips and Troubleshooting:
If you encounter any bumps along the way, don't panic! Nail art is all about trial and error so don't be afraid to experiment and learn from your mistakes. If you make a smudge or smudge, simply dip a clean brush in nail polish remover and gently erase any imperfections.
Maintenance and Longevity:
With proper care and maintenance, your star nail art can stay looking fabulous for days on end. Be sure to moisturise your cuticles regularly, avoid exposing your nails to harsh chemicals, and touch up any chips or cracks as needed to keep your design looking fresh.
Conclusion of Star Nail Art
Congratulations, you've officially mastered the art of star nail art! Whether you're channelling your inner cosmic goddess or simply adding a touch of sparkle to your everyday look, these celestial designs are sure to make a statement wherever you go. So grab your nail polish and let your creativity take flight – the sky's the limit!
Read more https://www.djjmeets.com/